JavaScript App | Step 2: Create a new Ember app using Ember CLI
Pre-requisities
| You should… | What to Review |
|---|---|
| … have Node, npm, Ember CLI, and Bower installed | Step 1 |
| … understand the distinctions between a client side application and a server | What is a backend and why do I need one? |
Generate a new Ember application from the command line
We’re going to generate a new Ember application from scratch using the Ember CLI. In your shell, navigate to the directory on your computer where you’d like your new project to live.
Creating a new Ember app will include initializing a new Git project. Let’s start out in a ~/projects directory, where all our projcts are kept. Feel free to replace all the references to ~/projects below with the path to whatever directory you’d prefer to use.
$ cd ~/projects
~/projects $
Once you’re in the parent directory, we’ll use Ember CLI to generate a new project. We need to decide what the name of the project (and its containing directory) should be. Let’s use hello-world for our simple web application:
ember new hello-world
This is going to spit out a lot of input and do some work for a while. Eventually, we should see output like this:
~/projects $ ember new hello-world
installing app
  create .bowerrc
  create .editorconfig
  create .ember-cli
  create .jshintrc
  create .travis.yml
  create .watchmanconfig
  create README.md
  create app/app.js
  create app/components/.gitkeep
  create app/controllers/.gitkeep
  create app/helpers/.gitkeep
  create app/index.html
  create app/models/.gitkeep
  create app/resolver.js
  create app/router.js
  create app/routes/.gitkeep
  create app/styles/app.css
  create app/templates/components/.gitkeep
  create bower.json
  create config/environment.js
  create ember-cli-build.js
  create .gitignore
  create package.json
  create public/crossdomain.xml
  create public/robots.txt
  create testem.js
  create tests/.jshintrc
  create tests/helpers/destroy-app.js
  create tests/helpers/module-for-acceptance.js
  create tests/helpers/resolver.js
  create tests/helpers/start-app.js
  create tests/index.html
  create tests/integration/.gitkeep
  create tests/test-helper.js
  create tests/unit/.gitkeep
  create vendor/.gitkeep
Successfully initialized git.
Installed packages for tooling via npm.
Installed browser packages via Bower.
We can check out the basic structure of the project that Ember CLI created for us.
~/projects $ cd hello-world

~/projects/hello-world $ ls
app               node_modules  vendor              bower.json
bower_components  public        ember-cli-build.js  package.json
config            tests         testem.js           README.md

~/projects/hello-world $ git log --pretty=oneline
369cd1fdf151fda8d58eb478e8154fd85c509a1d Initial Commit from Ember CLI v2.9.1
Open the hello-world directory in your text editor of choice and take a look around.
When you’re ready, run ember serve to kick off a small server on your machine. This will build your application and serve the built files on your machine. The server will stay running until you quit it (typically control-c in the shell). As long as it’s running, you can see the page at a specific address in your browser.
$ ember serve

Just getting started with Ember? Please visit http://localhost:4200/ember-getting-started to get going

Livereload server on http://localhost:49152
Serving on http://localhost:4200/

Build successful - 7841ms.


Slowest Nodes (totalTime => 5% )              | Total (avg)
----------------------------------------------+---------------------
Babel (14)                                    | 6995ms (499 ms)
The output from Ember’s server indicates that we can see our web app at http://localhost:4200/. Open that address in the browser of your choice and you should see something like this:
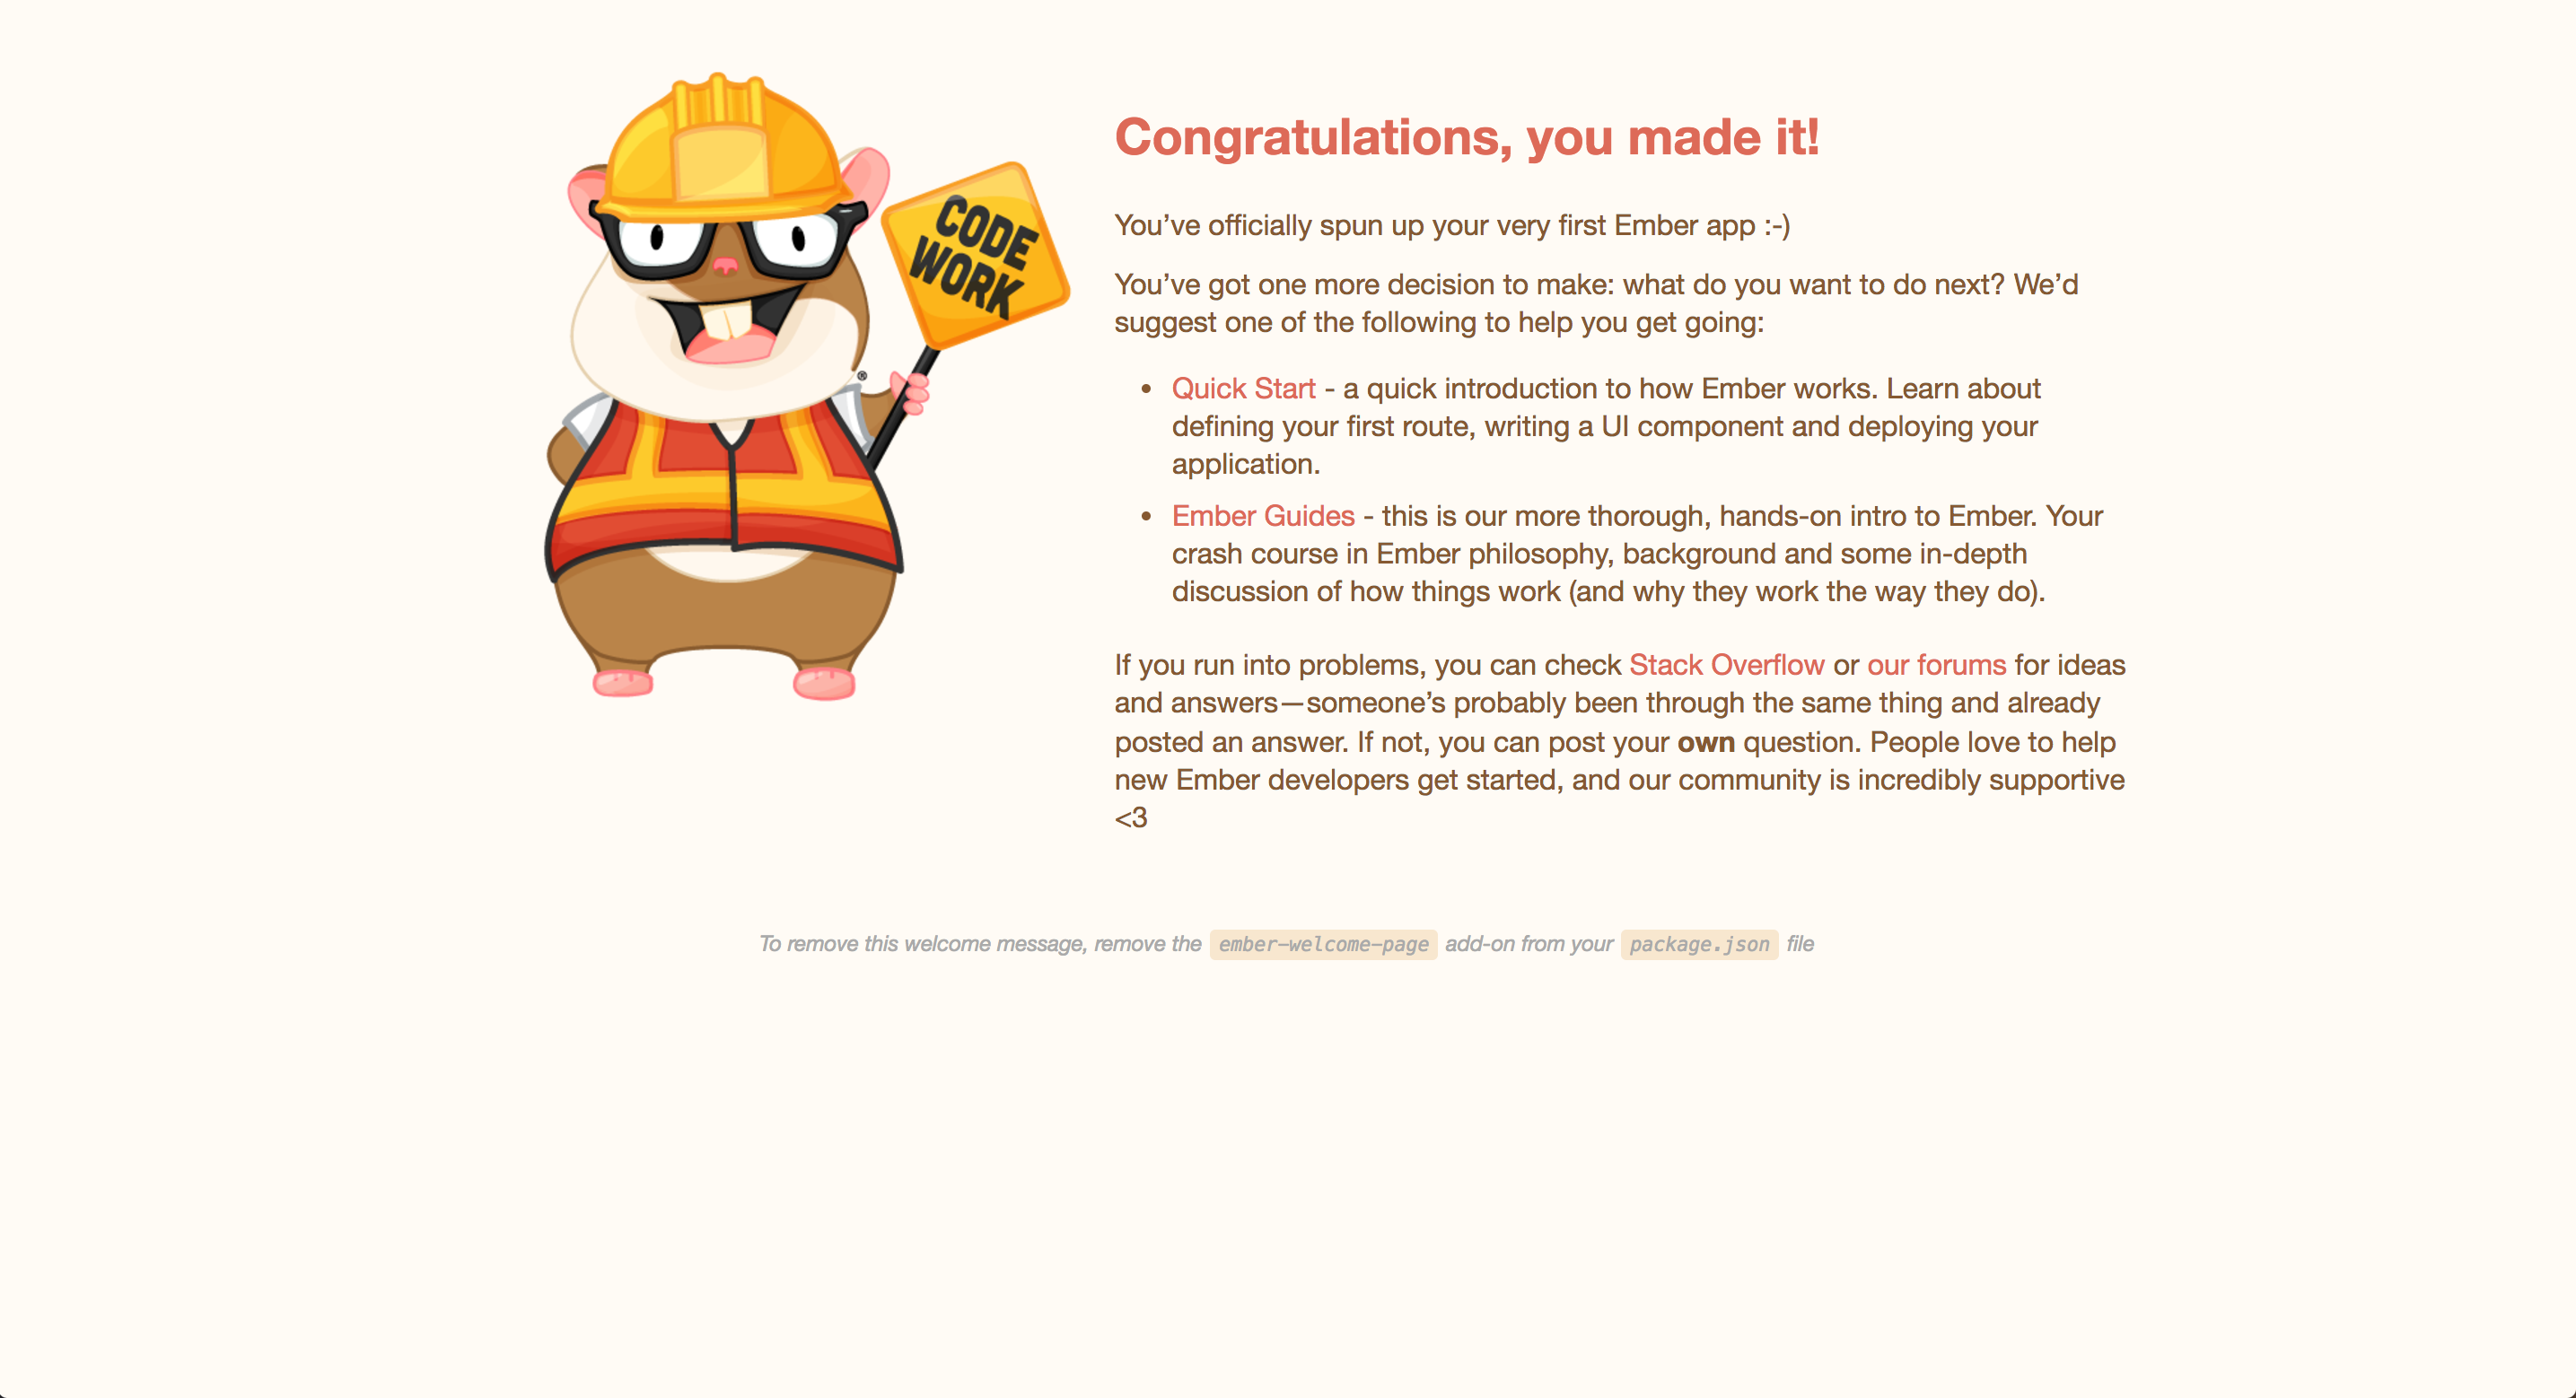
If you’ve never used Ember before, you may want to try reading the Quick Start or Ember Guide linked to by the welcome page to get an introduction to the Ember framework.
For the purposes of this tutorial, we’re going to remove the welcome page and add a barebones page of our own.
Replace Ember welcome page with Hello world!
Open hello-world/package.json in the text editor of your choice. package.json is a file used by npm to declare dependencies and set up configuration for your project.
 |
What is JSON? |
In your hello-world/package.json file, you should see something like this:
{
  ...
  "devDependencies": {
    "broccoli-asset-rev": "^2.4.5",
    "ember-ajax": "^2.4.1",
    "ember-cli": "2.9.1",
    "ember-cli-app-version": "^2.0.0",
    "ember-cli-babel": "^5.1.7",
    "ember-cli-dependency-checker": "^1.3.0",
    "ember-cli-htmlbars": "^1.0.10",
    "ember-cli-htmlbars-inline-precompile": "^0.3.3",
    "ember-cli-inject-live-reload": "^1.4.1",
    "ember-cli-jshint": "^1.0.4",
    "ember-cli-qunit ": "^3.0.1",
    "ember-cli-release": "^0.2.9",
    "ember-cli-sri": "^2.1.0",
    "ember-cli-test-loader": "^1.1.0",
    "ember-cli-uglify": "^1.2.0",
    "ember-data": "^2.9.0",
    "ember-export-application-global": "^1.0.5",
    "ember-load-initializers": "^0.5.1",
    "ember-resolver": "^2.0.3",
    "ember-welcome-page": "^1.0.3",
    "loader.js": "^4.0.10"
  }
}
devDependencies describes a list of packages that are required for this projec to run, and what versions are acceptable to run. The version notation is written using semvar.
Delete just the line "ember-welcome-page": "^1.0.3",. The exact verison may be different from you, but this ember-welcome-page package is the one responsible for creating the welcome page you saw.
Save your changes. Open a new shell (since your existing shell is being used to run your Ember server) and navigate back to ~/projects/hello-world. If you run git diff in the command line, your output should look like this:
~/projects/hello-world $ git diff
diff --git a/package.json b/package.json
index e5d0836..e462835 100644
--- a/package.json
+++ b/package.json
@@ -38,7 +38,6 @@
     "ember-export-application-global": "^1.0.5",
     "ember-load-initializers": "^0.5.1",
     "ember-resolver": "^2.0.3",
-    "ember-welcome-page": "^1.0.3",
     "loader.js": "^4.0.10"
   }
 }
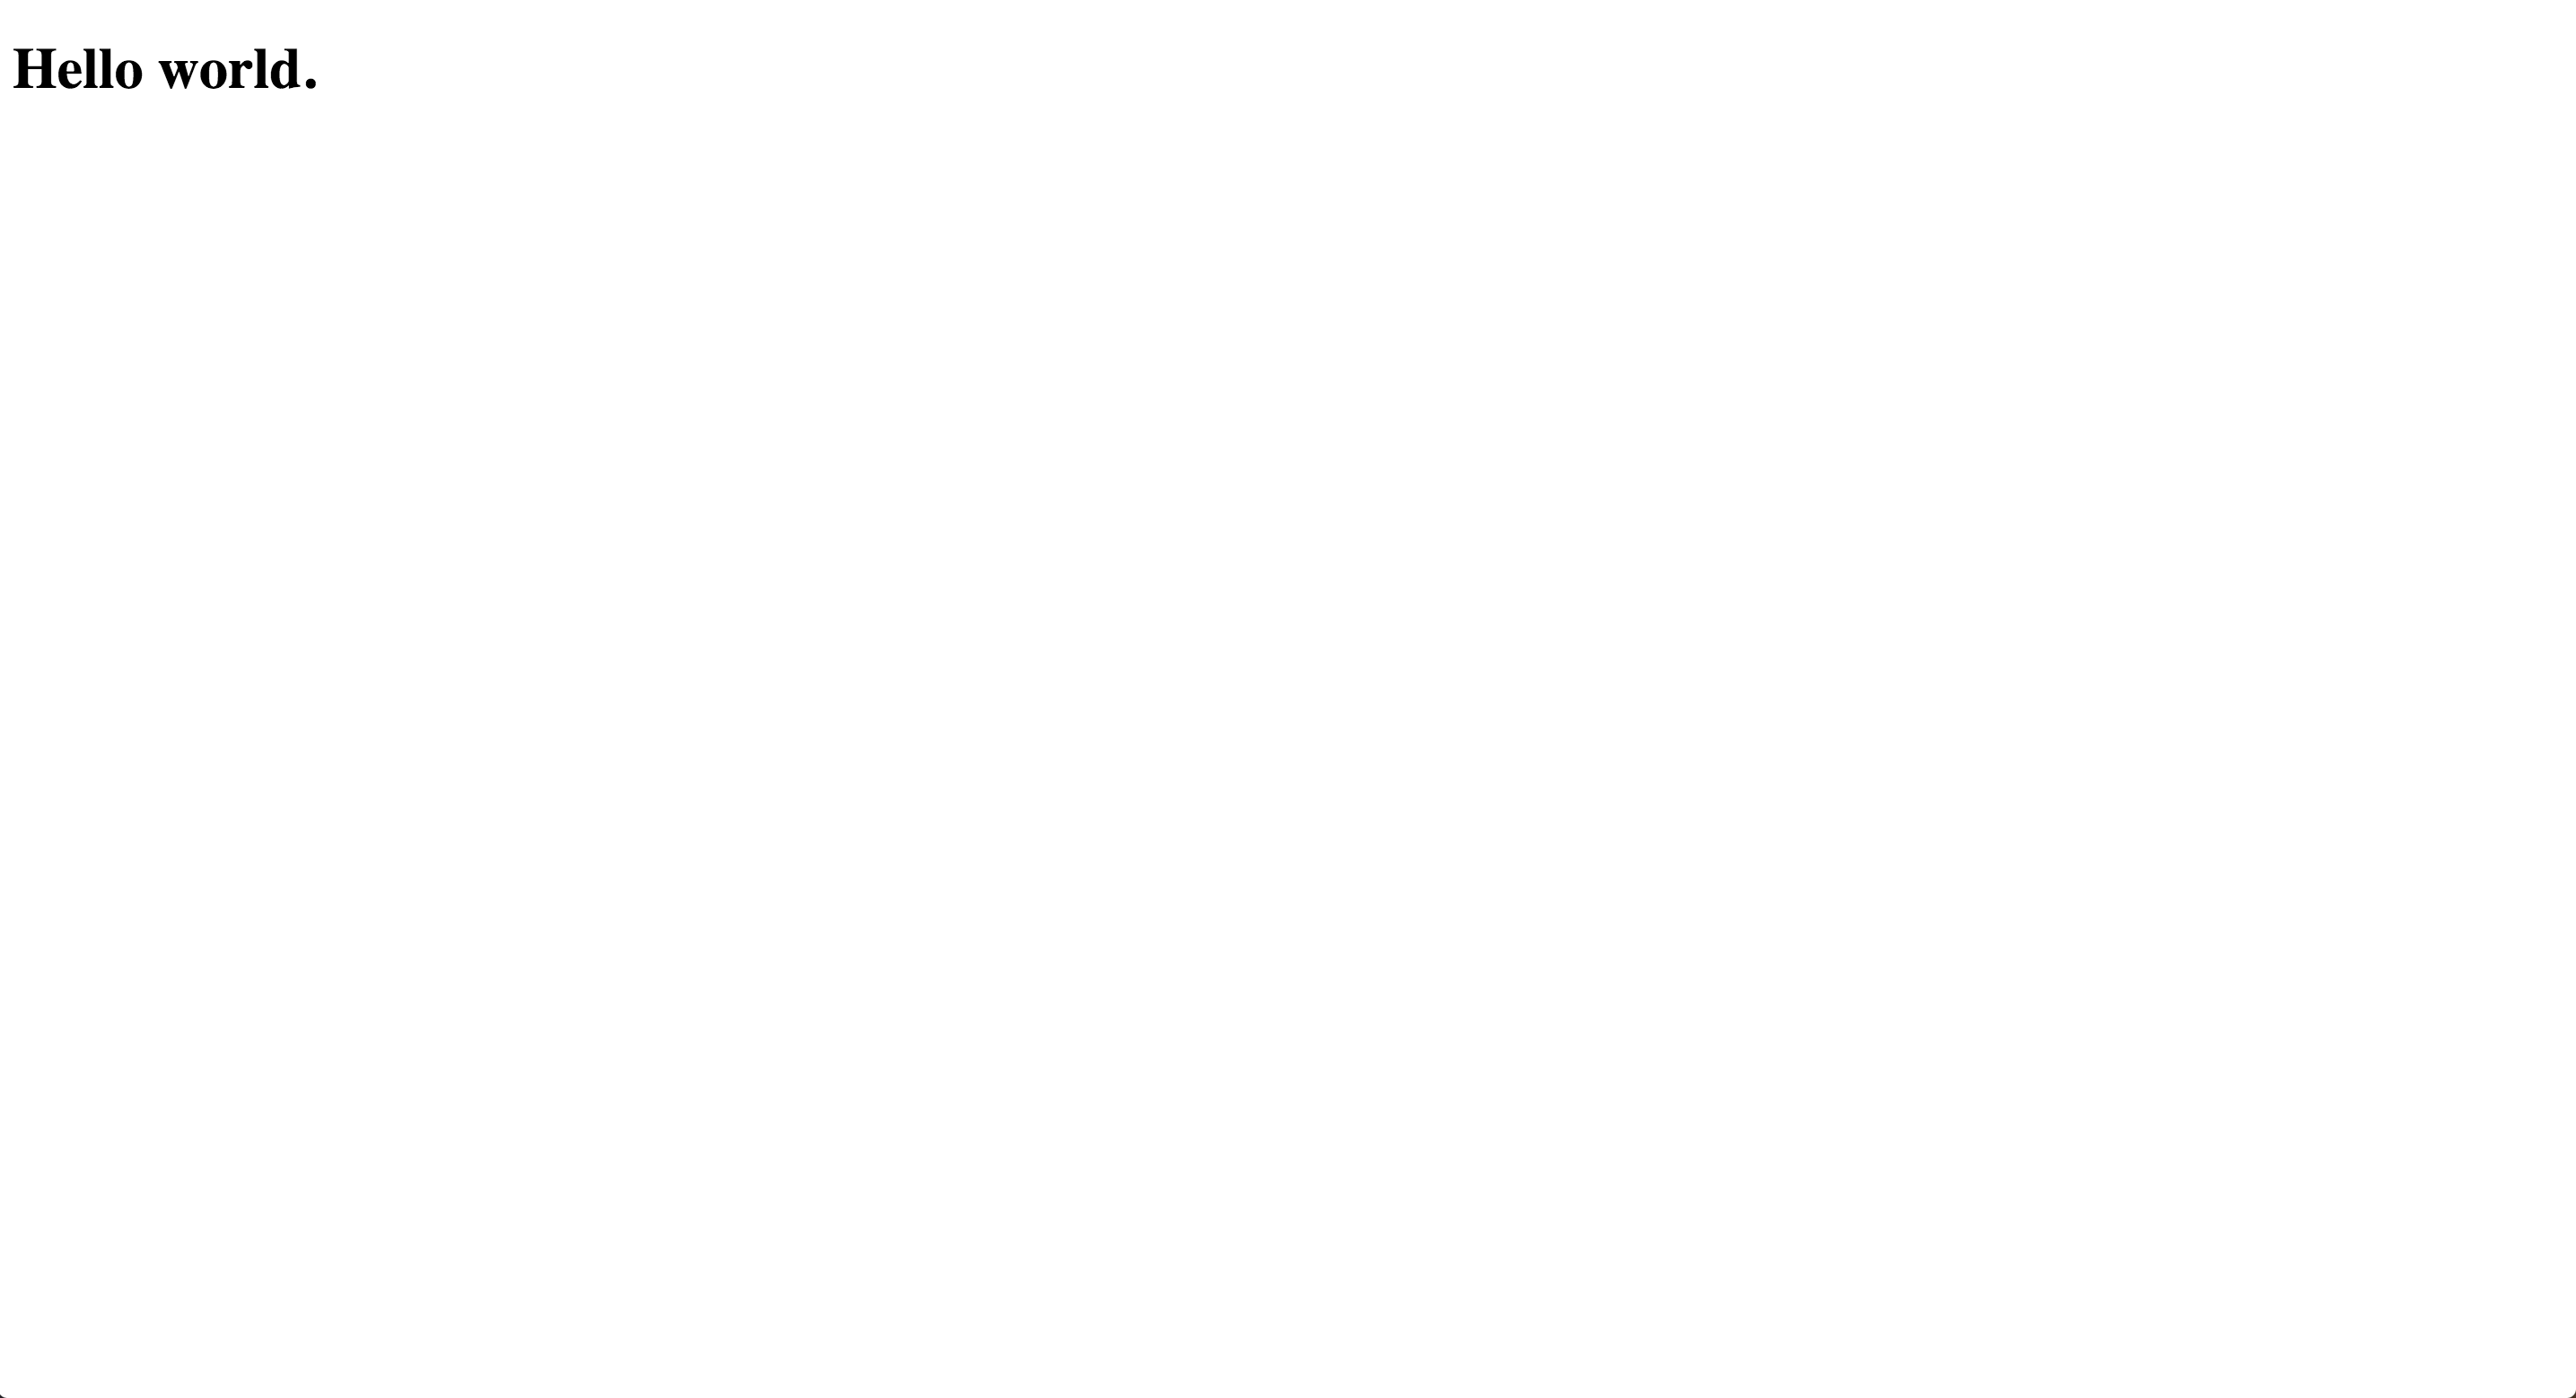
Navigate back to http://localhost:4200/ in the browser, and you should see an empty page. It’s time to start adding content!
Typically, Ember’s server handles refreshing all content automatically whenever changes are made locally. However, we may have to force a refresh if you don’t see any changes immediately after editing package.json. You can force a refresh by stopping the server (by pressing ctrl-c in the shell where the server is running) and restarting it again to get the new changes.
If you define any content or behavior at the application level in Ember, it will run on every page. We can add a title that will be shown on every page of our app by adding to the application template.
We don’t yet have that template, so we’ll create it with Ember CLI.
ember generate template application
~/projects/hello-world $  ember generate template application
installing template
  create app/templates/application.hbs
We can now open app/templates/application.hbs. This should be an empty Handlebars file. Handlebars is a templating language — think of it as HTML plus some logic. That will come in handy later, but for now we’ll stick to plain HTML.
Let’s add a big header to the top of the file and save it:
<h1>Hello world.</h1>
If we look at http://localhost:4200/ in the browser, we should now see something like this:
Review
You created a new Ember application using Ember CLI.
You ran Ember locally using ember serve.
You removed the default Ember welcome page by changing a line in your application’s package.json and replaced it with a Hello world. message.