JavaScript App | Step 6: Deploy to Heroku
Pre-requisities
| You should… | What to Review |
|---|---|
| … have created an Ember route with a dynamic segment | Step 5 |
| … saved all your changes | Step 3 |
Create a new Heroku account
Sign into your existing Heroku account, or create a new one. (They’re free!)
Follow the instructions to download and install the Heroku CLI.
When you first install the CLI, you’ll have to enter your Heroku credentials to connect the app with your Heroku account.
To verify that you’ve successfully installed the Heroku CLI, try heroku --version on your command line. You should see some version output.
~/projects/my-new-app $ heroku --version
heroku-toolbelt/3.43.14 (x86_64-darwin10.8.0) ruby/1.9.3
heroku-cli/5.5.2-e6595d8 (darwin-amd64) go1.7.3
You have no installed plugins.
Create a new Heroku app
You’re now ready to create your first Heroku app!
From within my-new-app, run heroku create. This will create a default app for you, and give it a unique name.
~/projects/my-new-app $ heroku create
Creating app... done, ⬢ UNIQUE-HEROKU-CODE
https://UNIQUE-HEROKU-CODE.herokuapp.com/ | https://git.heroku.com/UNIQUE-HEROKU-CODE.git
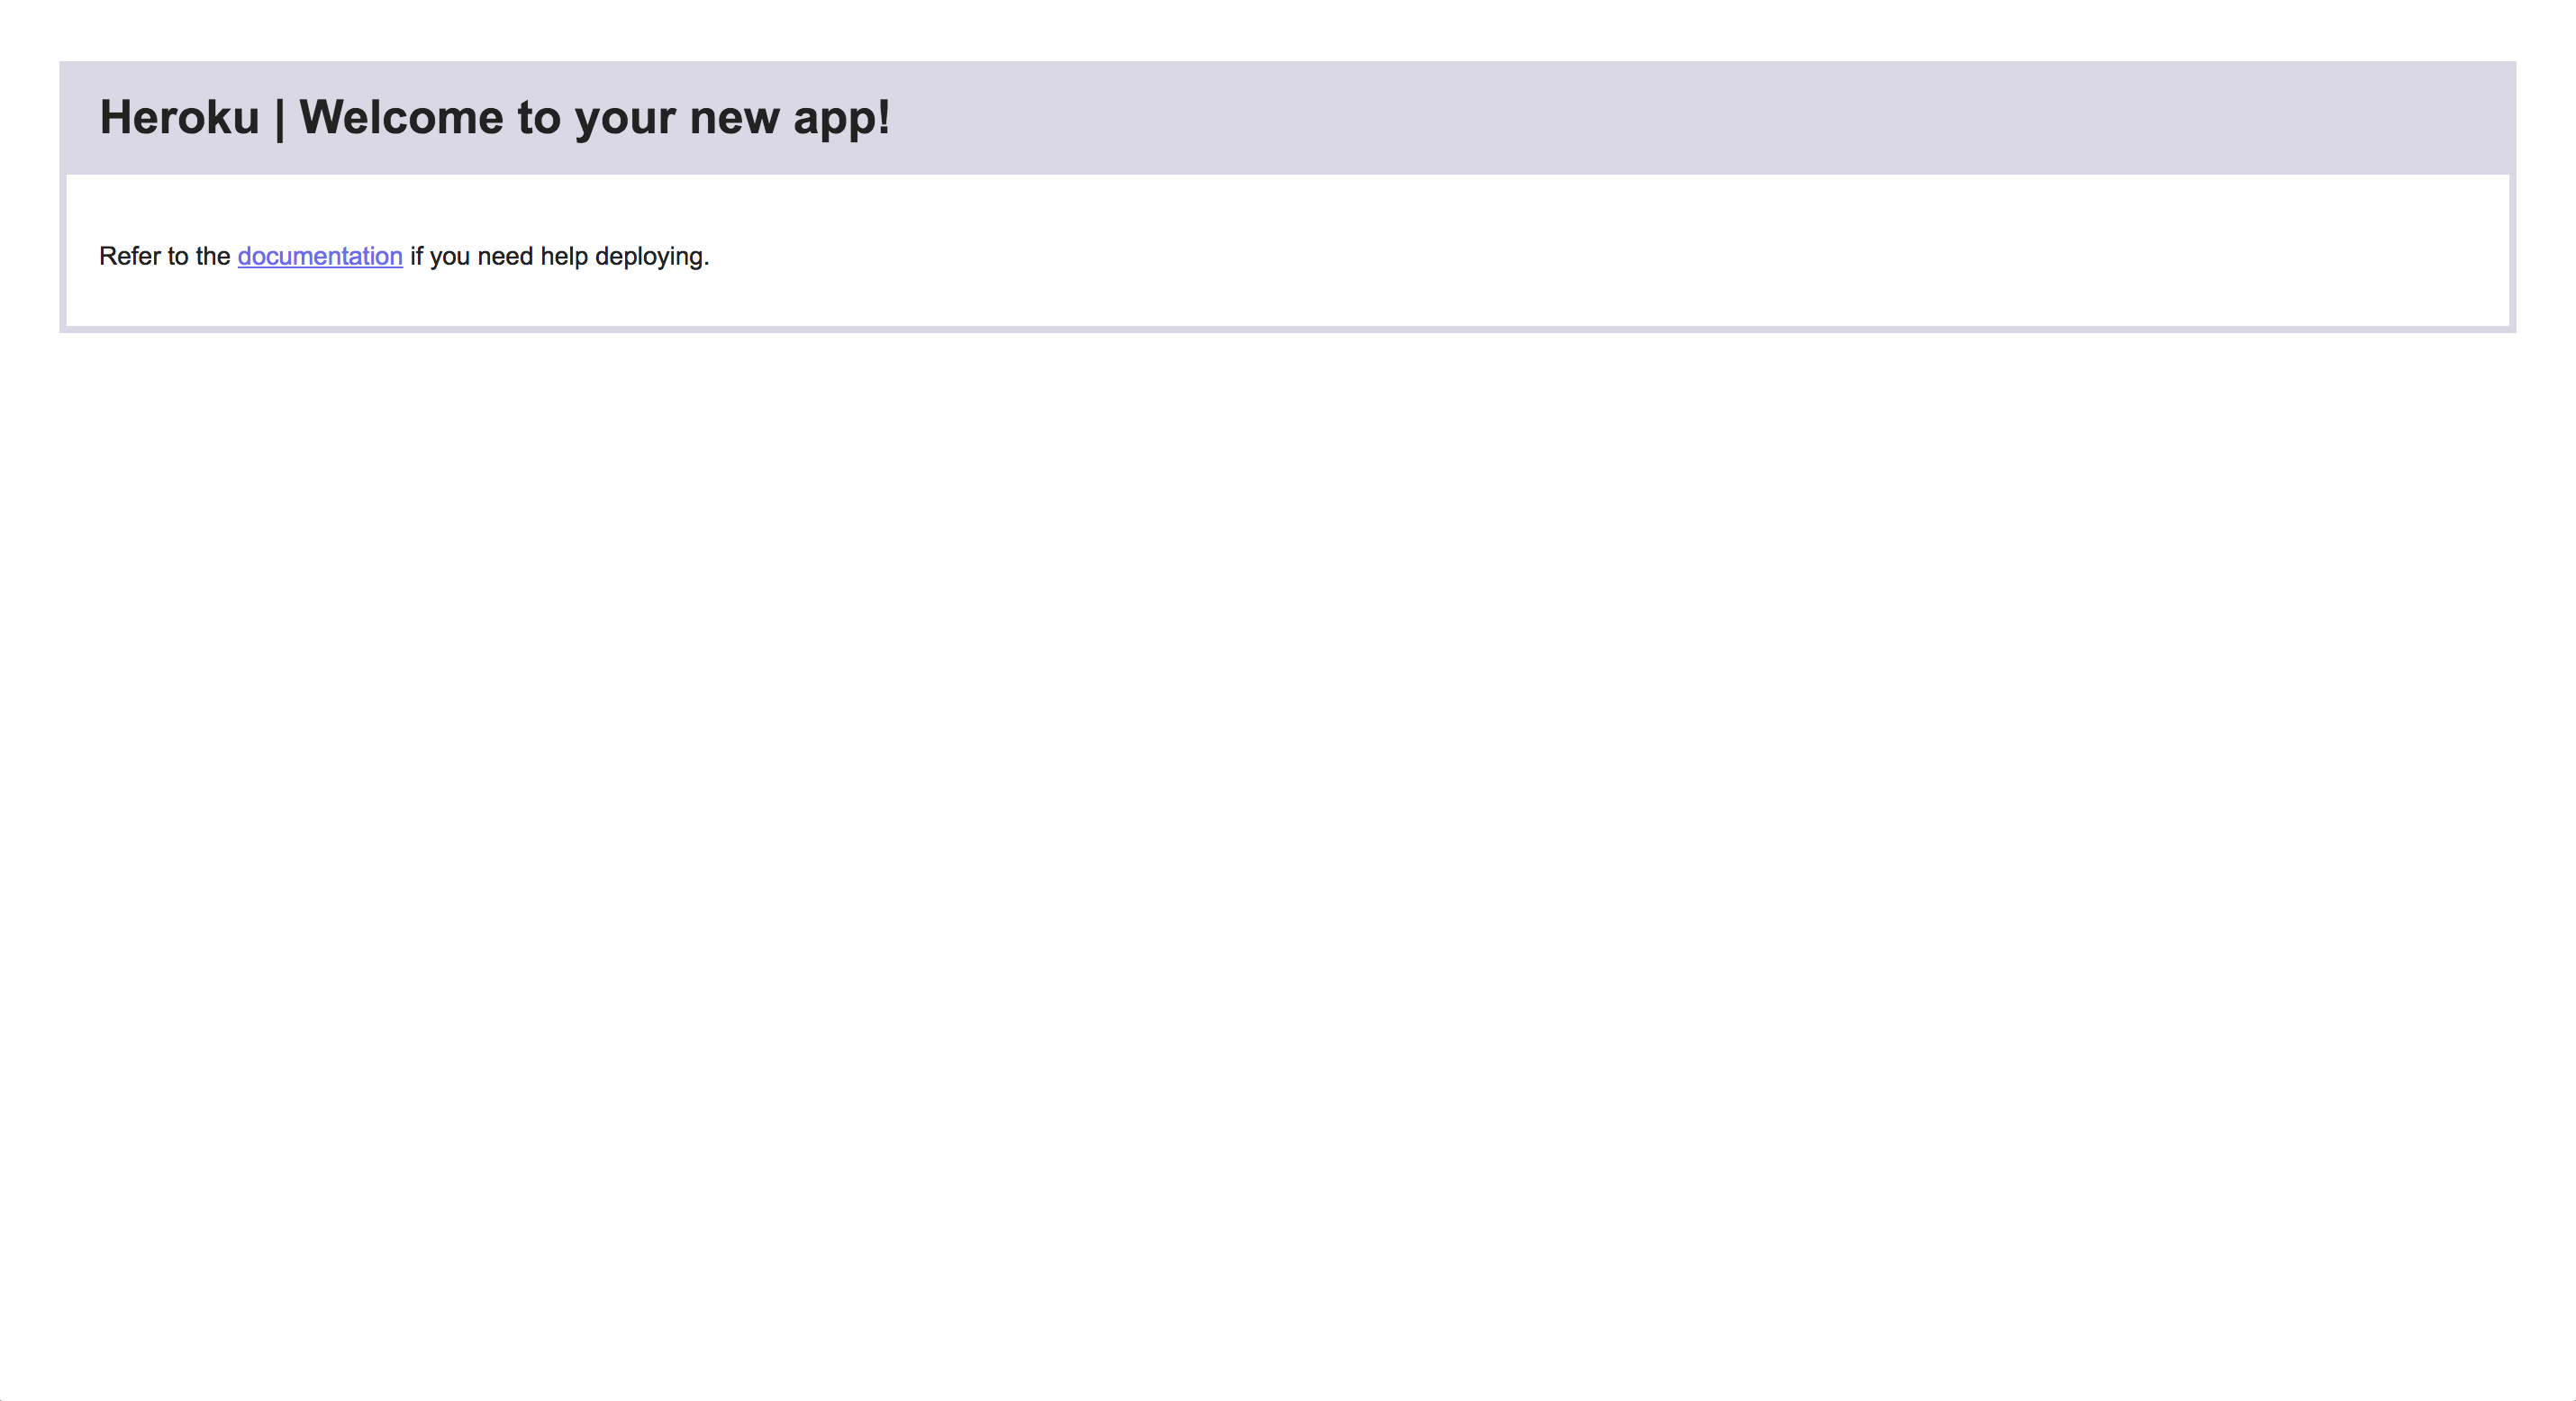
If you visit the link from the output, you’ll see a generic landing page.

When you created your app, Heroku added a new remote to your local git repository. You can see it by running git remote -v:
~/projects/my-new-app $ git remote -v
heroku  https://git.heroku.com/UNIQUE-HEROKU-CODE.git (fetch)
heroku  https://git.heroku.com/UNIQUE-HEROKU-CODE.git (push)
Heroku has a concept of buildpacks, which are a set of scripts which build your deployed into a functional app. For our app, we’re first going to set up the Ember server. We’ll need to use the Ember buildpack.
Install the Ember buildpack with heroku buildpacks:set https://codon-buildpacks.s3.amazonaws.com/buildpacks/heroku/emberjs.tgz:
~/projects/my-new-app $ heroku buildpacks:set https://codon-buildpacks.s3.amazonaws.com/buildpacks/heroku/emberjs.
Buildpack set. Next release on UNIQUE-HEROKU-CODE will use https://codon-buildpacks.s3.amazonaws.com/buildpacks/heroku/emberjs.tgz.
Deploy your app to Heroku
You can now deploy your app to Heroku using git push heroku master.
This is going to take a while, as your app is being deployed and built. When your script finally stops running, run heroku open to open your newly deployed app in a new browser window.
You should see the exact same index site as you see locally!

Try clicking around. You may notice: everything but clicking the Say Hello button works as expected.
Deploy a second app to Heroku to run the Express server
The reason clicking the button doesn’t work the way you expect is because your currently deployed app is only running the Ember server, and not the Express server. All your API requests aren’t being handled correctly.
We can solve this by creating a second Heroku app, deploying the Express server to that app, and redirecting all our API requests to our backend app.
First: create a second Heroku app from the command line, using heroku create again. This will generate a second unique code for your second app — keep track of that. Wherever you see ANOTHER-UNIQUE-HEROKU-CODE in these examples, you’ll want to replace it with whatever code is actually given in your shell output.
~/projects/my-new-app $ heroku create
Creating app... done, ⬢ ANOTHER-UNIQUE-HEROKU-CODE
https://ANOTHER-UNIQUE-HEROKU-CODE.herokuapp.com/ | https://git.heroku.com/ANOTHER-UNIQUE-HEROKU-CODE.git
The first time Heroku created an app, it automatically saved a new git remote for us. This time, we’ll need to manually add our remote. To prevent confusion, let’s rename our existing Heroku remote to frontend and save our new remote as backend.
Renaming the heroku remote to frontend takes a single git command:
git remote rename heroku frontend
To add the backend remote, you’ll need to replace ANOTHER-UNIQUE-HEROKU-CODE with the actual code for your backend app that was generated when you created your app:
git remote add backend https://git.heroku.com/ANOTHER-UNIQUE-HEROKU-CODE.git
To verify that we did everything correctly, run remote -v. You should see something like this:
~/projects/my-new-app $ git remote -v
backend https://git.heroku.com/ANOTHER-UNIQUE-HEROKU-CODE.git (fetch)
backend https://git.heroku.com/ANOTHER-UNIQUE-HEROKU-CODE.git (push)
frontend  https://git.heroku.com/UNIQUE-HEROKU-CODE.git (fetch)
frontend  https://git.heroku.com/UNIQUE-HEROKU-CODE.git (push)
Before we redeploy anything, we need to make a few small changes to our app. When we deploy our backend server, Heroku will identify that this a Node.js app and will expect to run npm start (as defined in the Node.js support documentation). Currently, the npm start behavior defined in our package.json file runs the Ember server:
{
  ..
  "scripts": {
    ...
    "start": "ember server",
    ...
  }
}
We want to change this to instead run our Express server:
"start": "node backend/app/server.js",
Additionally, we want to redirect all of our API requests from our Ember server to our Express server. The Ember buildpack allows us to define a static.json file and define a backend proxy.
~/projects/my-new-app $ touch static.json
Add the following code to static.json and replace ANOTHER-UNIQUE-HEROKU-CODE with the code for your backend app:
{
  "proxies": {
    "/api/": {
      // Note: replace ANOTHER-UNIQUE-HEROKU-CODE with the unique code for your backend app
      "origin": "https://ANOTHER-UNIQUE-HEROKU-CODE.herokuapp.com/api"
    }
  }
}
Commit your changes with git and get ready to deploy again! For a refresher on how to commit your changes, see Step 3.
We’ll deploy two apps this time, but we’ll push the same code to both apps. The difference is that our frontend app is set up with an Ember CLI buildpack and will run our Ember server, but our backend app will run our Express server.
To deploy the Ember server, run git push frontend master.
To deploy the Express server, run git push backend master.
When both processes are finished running, reload your Heroku app in the browser. Everything should work the exact same as locally, including the Say Hello button!

Review
You created two Heroku apps using the Heroku CLI.
You added a Heroku buildpack to one of your apps using the Heroku CLI.
You deployed your apps by pushing to dedicated git remotes.